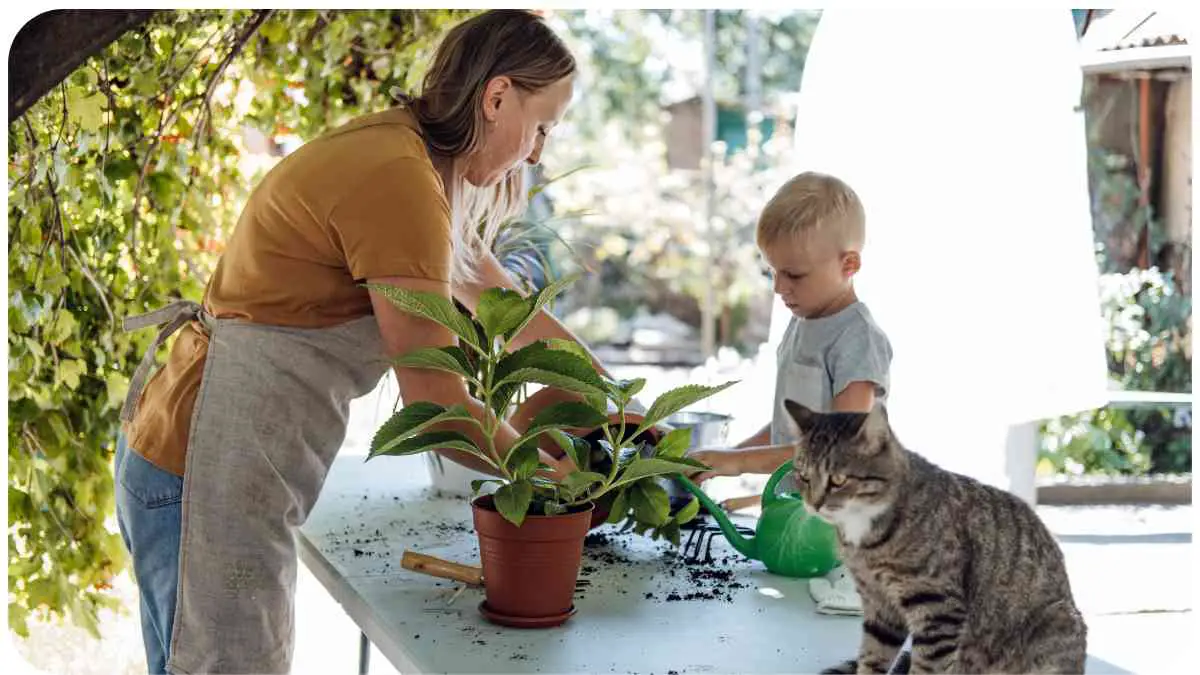
Houseplants bring life and vibrancy into our homes, but like all living things, they sometimes need a change of scenery. Repotting is a crucial aspect of houseplant care, ensuring that your green companions have enough space to grow healthy roots and thrive.
In this guide, we’ll delve into the intricacies of repotting houseplants, answering the burning question: When can I repot my houseplants?
| Takeaways |
|---|
| 1. Repotting houseplants is crucial for their health and growth. |
| 2. Signs indicating a need for repotting include root emergence from drainage holes and slow growth. |
| 3. The best time to repot houseplants is generally during the spring or early summer months. |
| 4. Choose the right pot size and potting mix to ensure proper growth and drainage. |
| 5. After repotting, provide proper aftercare, including watering and monitoring for signs of stress. |
2. Understanding Repotting
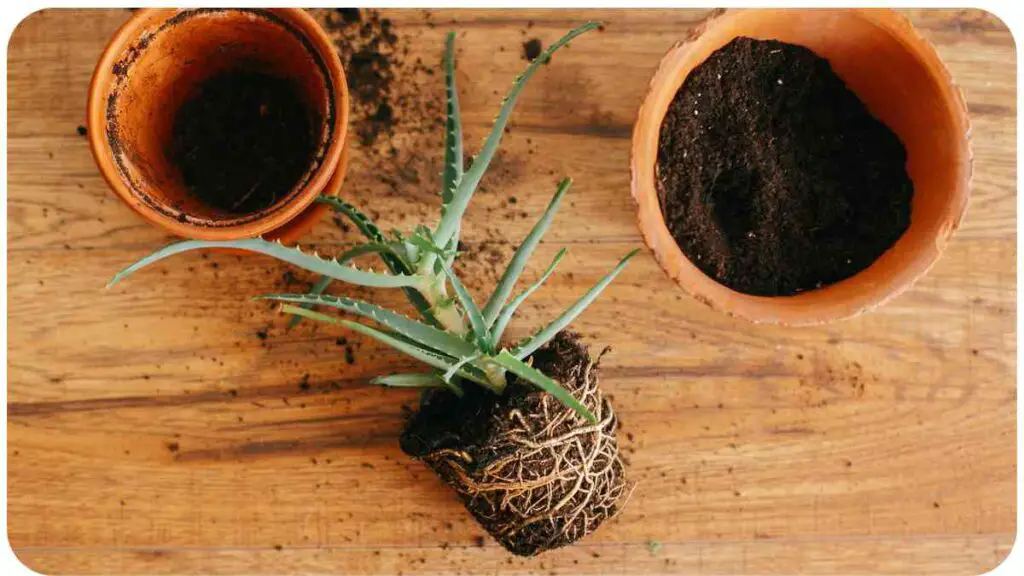
Repotting involves transferring a plant from one container to another, typically to provide more space for root growth or to refresh the potting mix. Over time, houseplants outgrow their pots, becoming root-bound, which can stunt their growth and affect their overall health. Repotting rejuvenates the plant, giving it room to spread its roots and access essential nutrients.
To maintain healthy houseplants, it’s crucial to prevent root rot by ensuring proper drainage and using well-draining soil. Regularly inspecting roots for signs of rot and repotting as needed can help safeguard your plants’ health.
Benefits of Repotting:
| Benefit | Explanation |
|---|---|
| Stimulates Growth | Allows roots to spread and absorb nutrients more efficiently. |
| Prevents Root Bound | Avoids the roots becoming overcrowded, which can hinder growth. |
| Refreshes Potting Mix | Provides fresh nutrients and improves soil aeration. |
| Enhances Plant Health | Reduces the risk of diseases and pests associated with stagnant soil. |
| Promotes Aesthetic Appeal | Improves the overall appearance of the plant, making it more attractive in your living space. |
Signs Your Houseplant Needs Repotting:
| Sign | Indication |
|---|---|
| Roots Emerging from Drainage Holes | Indicates that the plant has outgrown its current container. |
| Slow Growth or Wilting | Suggests that the roots are struggling to access sufficient nutrients or space. |
| Potting Mix Compaction | Soil becomes dense and compacted over time, hindering water drainage and root aeration. |
| Water Runs Straight Through | Water flows quickly through the pot without being absorbed, signaling root-bound conditions. |
| Rootbound Appearance | The roots form a dense, circular mass at the bottom of the pot, restricting further growth. |
3. Best Time to Repot Houseplants
Timing is crucial when it comes to repotting houseplants. While it might be tempting to repot your plants whenever you feel like it, choosing the right time can significantly impact their success rate.
Choosing the right fertilizer for your potted plants is essential for their growth and vitality. Look for balanced fertilizers with essential nutrients like nitrogen, phosphorus, and potassium to support healthy foliage, blooms, and overall plant development.
Seasonal Considerations:
| Season | Ideal Time for Repotting |
|---|---|
| Spring | Optimal time for most houseplants, as they enter a growth phase. Avoid repotting immediately after winter dormancy. |
| Early Summer | Another favorable period, allowing plants to establish before the stress of winter. |
| Early Fall | Suitable for plants that prefer cooler temperatures and slower growth during winter. |
| Avoid Winter | Generally, avoid repotting during winter, as plants are often dormant and less able to recover from stress. |
Plant-Specific Timing:
Different plants have varying preferences regarding when they’re best repotted. Some thrive with spring repotting, while others may prefer different seasons.
Consider the Plant’s Growth Cycle:
Observe your houseplant’s growth patterns to determine the best time for repotting. Aim to repot during periods of active growth to minimize stress and maximize recovery.
Assess the Plant’s Health:
If your plant is showing signs of distress or outgrowing its container, it’s likely a good time to repot, regardless of the season. Prioritize the plant’s needs over strict adherence to seasonal guidelines.
Knowing how often to replace potting soil is key to maintaining optimal plant health. Over time, soil can become depleted of nutrients and compacted, hindering root growth and drainage. Regularly refreshing potting soil ensures your plants have access to the nutrients they need.
Example:
“As a seasoned plant enthusiast, I’ve found that timing plays a crucial role in the success of repotting endeavors. For instance, last spring, I decided it was time to repot my beloved Monstera deliciosa. I noticed its roots beginning to peek through the drainage holes, indicating it was feeling a bit cramped in its current home.”
4. How to Repot Houseplants
Repotting your houseplants might seem like a daunting task, but with the right approach, it can be a rewarding experience for both you and your plants. Here’s a step-by-step guide to help you through the process.
Step 1: Choose the Right Time
Select a suitable time for repotting based on the plant’s growth cycle and seasonal considerations, as discussed earlier.
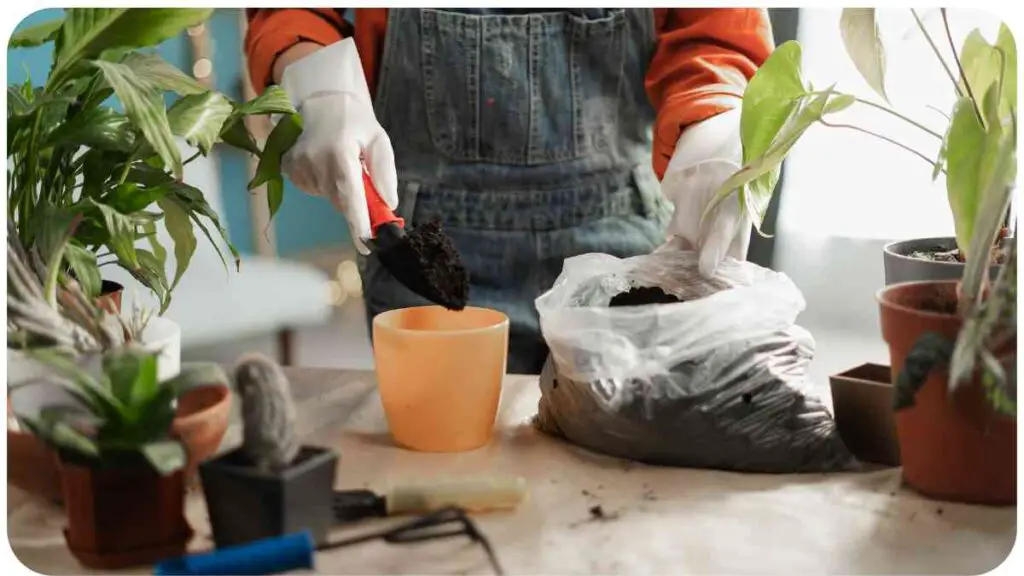
Step 2: Gather Your Supplies
Gather all the necessary supplies, including a new pot, potting mix, watering can, and any additional tools like gardening gloves or a trowel.
Step 3: Prepare the New Pot
Ensure the new pot has proper drainage holes and is clean before transferring the plant. Select a pot that is slightly larger than the current one to allow for future growth.
Step 4: Prepare the Plant
Water the plant thoroughly a day or two before repotting to ease the transition and minimize stress on the roots. Gently remove the plant from its current pot, being careful not to damage the roots.
Harnessing the benefits of praying mantises can help control pests in your indoor garden naturally. These voracious predators feed on common pests like aphids and flies, offering an eco-friendly solution to pest management without the need for harmful chemicals.
Step 5: Trim and Inspect the Roots
Inspect the roots for any signs of damage or disease, trimming away any dead or rotting roots with sterilized scissors or pruning shears.
Step 6: Add Potting Mix
Fill the bottom of the new pot with fresh potting mix, ensuring it’s enough to support the plant at its previous soil level.
Step 7: Repot the Plant
Place the plant in the center of the new pot and fill in the remaining space with potting mix, gently pressing down to secure the plant in place.
Step 8: Water and Settle
Water the plant thoroughly after repotting to help settle the soil and remove any air pockets around the roots. Keep the plant in a shaded area for a few days to allow it to adjust to its new environment.
Step 9: Monitor and Care
Monitor the plant closely in the days and weeks following repotting, ensuring it receives adequate water and light as it adjusts to its new home.
Example:
“When I repotted my Monstera, I made sure to choose a pot with ample drainage to prevent waterlogging, as these plants prefer slightly moist but well-draining soil. After carefully removing it from its old pot, I gently teased apart the roots, trimming away any dead or tangled ones to encourage healthy growth. As I settled it into its new home, I could almost sense its relief at having more space to stretch out its roots.”
5. Choosing the Right Potting Mix
Selecting the correct potting mix is crucial for the health and vitality of your houseplants. The right mix provides essential nutrients, proper aeration, and adequate drainage to support healthy root growth. Here’s what you need to know about choosing the right potting mix for your plants.
Factors to Consider:
When selecting a potting mix, consider the following factors to ensure it meets your plant’s specific needs:
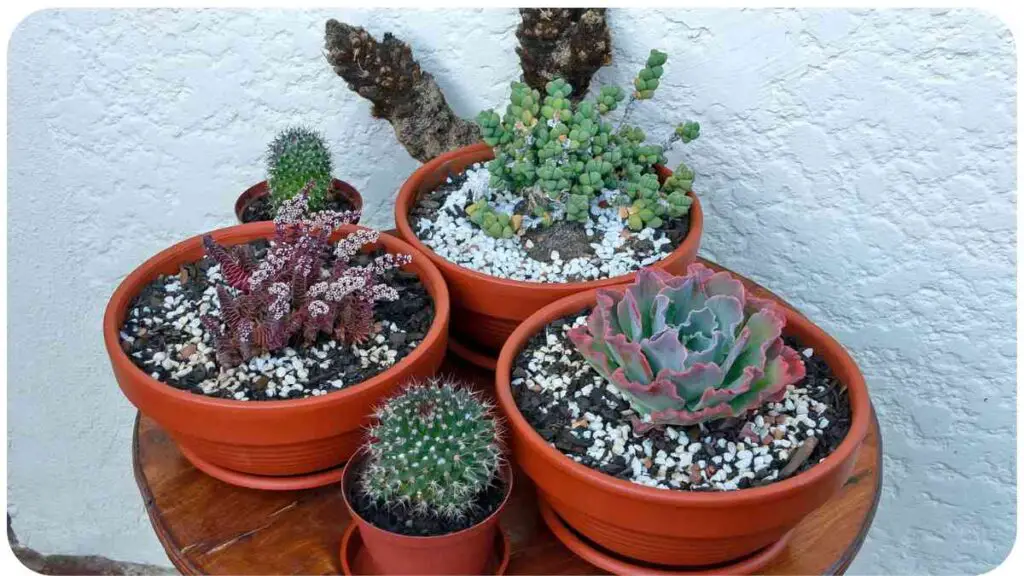
- Plant Type: Different plants have varying soil requirements. Choose a potting mix formulated specifically for your plant type, whether it’s succulents, tropical plants, or flowering varieties.
- Drainage: Opt for a mix with excellent drainage properties to prevent waterlogging, which can lead to root rot and other issues. Look for mixes containing perlite, vermiculite, or coarse sand to improve drainage.
- Nutrients: Ensure the potting mix contains essential nutrients to support plant growth. Look for mixes enriched with organic matter or slow-release fertilizers to provide a steady supply of nutrients over time.
- pH Level: Check the pH level of the potting mix to ensure it’s suitable for your plants. Most houseplants prefer slightly acidic to neutral soil with a pH range of 6.0 to 7.0.
- Aeration: A well-aerated potting mix allows oxygen to reach the roots and promotes healthy root development. Avoid overly dense mixes that may suffocate the roots.
Common Potting Mix Ingredients:
Here are some common ingredients found in potting mixes and their benefits:
| Ingredient | Benefits |
|---|---|
| Peat Moss | Improves moisture retention and provides organic matter. |
| Perlite | Enhances drainage and aeration, preventing soil compaction. |
| Vermiculite | Retains moisture while improving soil structure and aeration. |
| Coconut Coir | Sustainable alternative to peat moss, with excellent moisture retention properties. |
| Compost | Adds nutrients and organic matter to the soil, promoting healthy plant growth. |
| Bark Chips | Improves drainage and aeration, particularly in larger pots. |
Example:
“When choosing a potting mix for my Monstera, I opted for a blend specifically designed for tropical plants. This mix contained a combination of peat moss, perlite, and coconut coir, providing the perfect balance of moisture retention and drainage. Additionally, I appreciated that it was enriched with slow-release fertilizers, ensuring my plant received a steady supply of nutrients as it grew.”
When it comes to protecting indoor plants from pests and diseases, choosing the right spray is crucial. From neem oil to insecticidal soap, understanding the options available and their respective benefits can help you effectively combat common plant issues while minimizing harm to your green friends.
6. Selecting the Right Pot Size
Choosing the correct pot size is essential for the well-being of your houseplants. A pot that’s too small can restrict root growth, while one that’s too large may lead to overwatering and waterlogged soil. Here’s how to select the right pot size for your plants.
Consider Growth Potential:
Choose a pot size that allows ample room for your plant’s roots to grow. Consider the mature size of the plant and select a pot that accommodates its future growth.
Assess Current Root System:
Inspect the plant’s root system before repotting to determine if it’s root-bound or in need of more space. Look for roots circling the bottom of the pot or emerging from drainage holes.
Upgrading Pot Size:
When upgrading to a larger pot, choose one that’s only slightly larger than the current one to prevent overpotting. A general rule of thumb is to increase the pot diameter by 1-2 inches for small to medium-sized plants and 2-3 inches for larger plants.
Downgrading Pot Size:
If downsizing pots, select one that’s just large enough to accommodate the root system comfortably. Avoid drastically smaller pots, as they may restrict root growth and lead to stress for the plant.
Consider Planting Depth:
Ensure the new pot provides enough depth for the plant’s roots to spread comfortably. Avoid planting too shallow or too deep, as it can affect root development and stability.
Example:
“When repotting my Monstera, I carefully assessed its root system to determine the appropriate pot size. Since the plant had outgrown its current pot, I opted for a slightly larger pot with a diameter that was about 2 inches wider. This allowed ample room for the roots to spread out without overwhelming the plant with excess soil.”
7. Preparing for Repotting
Before diving into the repotting process, it’s essential to prepare both your plant and your workspace. Taking the time to set the stage properly can make the repotting experience smoother and more successful. Here’s how to prepare for repotting your houseplants.
Gather Your Supplies:
Collect all the necessary supplies before starting the repotting process. Here’s a checklist of essential items:
- New pot
- Potting mix
- Watering can or spray bottle
- Gardening gloves
- Trowel or small shovel
- Pruning shears or scissors
- Newspaper or drop cloth (for easy cleanup)
Choose the Right Location:
Select a well-lit and spacious area for repotting your houseplants. Ideally, choose a location with easy access to water and cleanup supplies. Avoid repotting near carpeted or upholstered surfaces, as soil and water spills can be challenging to clean.
Prepare Your Plant:
Before repotting, water your plant thoroughly to hydrate the roots and loosen the soil. This makes it easier to remove the plant from its current pot and reduces stress on the roots during the repotting process.
Sterilize Your Tools:
To prevent the spread of diseases and pests, sterilize your gardening tools before use. Wipe down pruners, scissors, and trowels with rubbing alcohol or a mixture of bleach and water to kill any pathogens.
Set Up Your Workspace:
Lay down newspaper or a drop cloth to protect your work surface from soil and water spills. Arrange your supplies within easy reach to streamline the repotting process and minimize disruptions.
Example:
“As I prepared to repot my Monstera, I gathered all the necessary supplies and laid them out on my patio table. I chose this location for its ample natural light and easy access to water. Before bringing out the plant, I sterilized my pruning shears and trowel to ensure a clean and hygienic repotting process. Once everything was in place, I brought out my Monstera and gave it a thorough watering to prep the roots for the transition.”
8. Repotting Process Step by Step
Now that you’ve prepared your plant and workspace, it’s time to dive into the repotting process. Follow these step-by-step instructions to repot your houseplants successfully.
Step 1: Remove the Plant from its Pot
Gently tilt the plant to one side and support the base while tapping the pot’s sides to loosen the soil. Once the plant is free, carefully remove it from the pot, supporting the root ball with your hand.
Step 2: Inspect and Prune the Roots
Inspect the roots for any signs of damage, rot, or overcrowding. Trim away any dead or tangled roots with sterilized pruning shears, focusing on maintaining a healthy root system.
Step 3: Prepare the New Pot
Fill the new pot with fresh potting mix, leaving enough space at the top to accommodate the plant’s root ball. Press down lightly to settle the soil and create a firm base for the plant.
Step 4: Repot the Plant
Place the plant in the center of the new pot, ensuring it’s positioned at the same depth as in the previous pot. Fill in the gaps around the root ball with additional potting mix, pressing down gently to secure the plant in place.
Step 5: Water Thoroughly
After repotting, give the plant a thorough watering to help settle the soil and hydrate the roots. Ensure the water drains freely from the bottom of the pot, indicating proper drainage.
Step 6: Clean Up
Remove any excess soil or debris from the workspace and wipe down the pot’s exterior to remove any soil residue. Dispose of any old potting mix or plant debris responsibly.
Example:
“With my Monstera ready for repotting, I carefully eased it out of its old pot, marveling at the tangle of roots that had developed over time. After gently pruning away any damaged or overcrowded roots, I filled the new pot with a fresh blend of potting mix, leaving enough room for the plant to settle comfortably. With a final watering to help the soil settle, my Monstera was all set in its new home, ready to continue growing and thriving.”
9. Aftercare Tips
Once you’ve successfully repotted your houseplant, it’s essential to provide proper aftercare to ensure its continued health and growth. Follow these aftercare tips to help your plant adjust to its new environment and thrive in its new pot.
1. Watering:
- Monitor the soil moisture regularly and water your plant when the top inch of soil feels dry to the touch.
- Avoid overwatering, as this can lead to root rot. Allow excess water to drain freely from the bottom of the pot.
2. Light and Temperature:
- Place your repotted plant in a location that receives the appropriate amount of light for its species.
- Avoid placing the plant in direct sunlight immediately after repotting, as it may increase stress on the plant. Gradually reintroduce it to sunlight over a few days.
3. Avoid Disturbance:
- Minimize movement and handling of the plant immediately after repotting to allow it to settle into its new pot.
- Avoid repotting or transplanting the plant again for at least a few months to give it time to establish in its new environment.
4. Fertilizing:
- Wait at least a month before fertilizing your repotted plant to allow it to acclimate to its new pot.
- Use a balanced liquid fertilizer diluted to half strength to avoid overfertilizing and burning the roots.
5. Monitor for Signs of Stress:
- Keep an eye out for any signs of stress, such as wilting, yellowing leaves, or stunted growth.
- Address any issues promptly by adjusting watering, lighting, or environmental conditions as needed.
Example:
“After repotting my Monstera, I placed it in a bright spot near a north-facing window, where it could receive plenty of indirect sunlight. I made sure not to disturb the plant unnecessarily and refrained from fertilizing for the first month to allow it to settle into its new home. By monitoring its soil moisture and observing its growth closely, I was able to provide the necessary care and attention to help it thrive in its new pot.”
10. Common Mistakes to Avoid
While repotting your houseplants can be a straightforward process, there are common mistakes that many beginners make. Avoiding these pitfalls can help ensure a successful repotting experience and promote the health and longevity of your plants.
1. Choosing the Wrong Pot Size:
- Selecting a pot that’s too large can lead to overwatering and soil saturation, while a pot that’s too small may restrict root growth.
- Choose a pot that provides ample room for root growth without overwhelming the plant.
2. Overwatering:
- Overwatering is one of the most common mistakes made after repotting, leading to root rot and other issues.
- Allow the soil to dry out slightly between waterings and ensure proper drainage to prevent waterlogging.
3. Disturbing the Roots:
- Rough handling or excessive root disturbance during repotting can cause stress to the plant and hinder its ability to establish in its new pot.
- Handle the plant with care and avoid excessively teasing or trimming the roots unless necessary.
4. Using the Wrong Potting Mix:
- Choosing the wrong potting mix can impact soil drainage, aeration, and nutrient availability, affecting the plant’s overall health.
- Select a potting mix formulated specifically for your plant type and ensure it provides adequate drainage and nutrients.
5. Neglecting Aftercare:
- Aftercare is crucial for the success of repotting, yet it’s often overlooked or neglected.
- Monitor your plant closely after repotting and provide proper watering, lighting, and environmental conditions to help it adjust and thrive.
Example:
“In my early days of plant parenthood, I made the mistake of choosing pots that were far too large for my plants, thinking they would appreciate the extra space. However, I soon learned that this often led to overwatering and root rot, as the soil remained consistently damp.
I also made the error of neglecting aftercare, assuming that repotting was a one-and-done task. As a result, my plants suffered from stress and struggled to adjust to their new pots. Thankfully, with experience and guidance, I’ve learned to avoid these common mistakes and provide the best care possible for my green companions.”
11. Frequently Asked Questions (FAQs)
When it comes to repotting houseplants, beginners often have a plethora of questions. Here are some frequently asked questions along with detailed answers to help you navigate the repotting process with confidence.
Q1: How do I know when my houseplant needs repotting?
A: Several signs indicate that your houseplant may need repotting, including roots emerging from drainage holes, slow growth or wilting, compacted potting mix, water running straight through the pot, and a root-bound appearance.
Q2: What is the best time of year to repot my houseplants?
A: Spring and early summer are generally the best times to repot houseplants, as they enter a period of active growth. Avoid repotting during winter when plants are often dormant and less able to recover from stress.
Q3: How do I choose the right pot size for repotting?
A: Select a pot that provides ample room for your plant’s roots to grow without overwhelming it. Increase the pot diameter by 1-2 inches for small to medium-sized plants and 2-3 inches for larger plants.
Q4: Should I prune the roots when repotting my houseplant?
A: It’s essential to inspect the roots for any signs of damage or overcrowding when repotting. Trim away any dead or tangled roots with sterilized pruning shears, but avoid excessive pruning unless necessary.
Q5: Can I use regular garden soil for repotting my houseplants?
A: It’s not recommended to use regular garden soil for repotting houseplants, as it tends to be too dense and may not provide adequate drainage. Instead, opt for a well-draining potting mix formulated for indoor plants.
Q6: How often should I repot my houseplants?
A: The frequency of repotting depends on various factors, including the plant’s growth rate, root-bound status, and pot size. As a general guideline, aim to repot your houseplants every 1-2 years or when they outgrow their current pots.
Example:
“As a plant enthusiast, I’ve encountered these questions numerous times throughout my journey of caring for houseplants. Understanding the signs that indicate a plant needs repotting and choosing the right time and pot size are essential for successful repotting. By addressing these common concerns, you can ensure that your houseplants thrive in their new pots and continue to bring joy and beauty to your home.”
12. Conclusion
Repotting your houseplants is a vital aspect of plant care that promotes healthy growth and longevity. By understanding the signs that indicate a plant needs repotting, choosing the right time and pot size, and following proper repotting techniques, you can ensure the success of your repotting endeavors.
Remember to provide adequate aftercare and monitor your plants closely as they adjust to their new pots. With patience, care, and attention to detail, you can help your houseplants thrive in their new homes.
If you have any further questions or need assistance with repotting your houseplants, don’t hesitate to reach out to fellow plant enthusiasts or gardening experts for guidance and support.
Happy repotting, and may your houseplants flourish and thrive!
Further Reading
- The Sill – Plant Care: Repotting: Offers comprehensive guidance on repotting houseplants, including step-by-step instructions and tips for success.
- UAEX White County – Repotting Houseplants: Provides valuable information on the importance of repotting houseplants and practical advice for achieving optimal results.
- Bloom & Wild – How to Repot a Plant: Presents easy-to-follow instructions and helpful tips for repotting plants, ensuring they thrive in their new homes.
FAQs
How do I know when my houseplant needs repotting?
Houseplants typically need repotting when their roots outgrow their current container, resulting in rootbound conditions. Signs include roots emerging from drainage holes, slow growth, and wilting.
What is the best time of year to repot my houseplants?
Spring and early summer are generally the best times to repot houseplants, as they enter a period of active growth. Avoid repotting during winter when plants are often dormant.
Should I prune the roots when repotting my houseplant?
It’s essential to inspect the roots for any signs of damage or overcrowding when repotting. Trim away any dead or tangled roots with sterilized pruning shears, but avoid excessive pruning unless necessary.
Can I use regular garden soil for repotting my houseplants?
It’s not recommended to use regular garden soil for repotting houseplants, as it tends to be too dense and may not provide adequate drainage. Instead, opt for a well-draining potting mix formulated for indoor plants.
How often should I repot my houseplants?
The frequency of repotting depends on various factors, including the plant’s growth rate, root-bound status, and pot size. As a general guideline, aim to repot your houseplants every 1-2 years or when they outgrow their current pots.
For 15 years, Hellen James has worked in the gardening industry as an expert and landscape designer. During her career, she has worked for a variety of businesses that specialize in landscaping and gardening from small firms to large corporations.