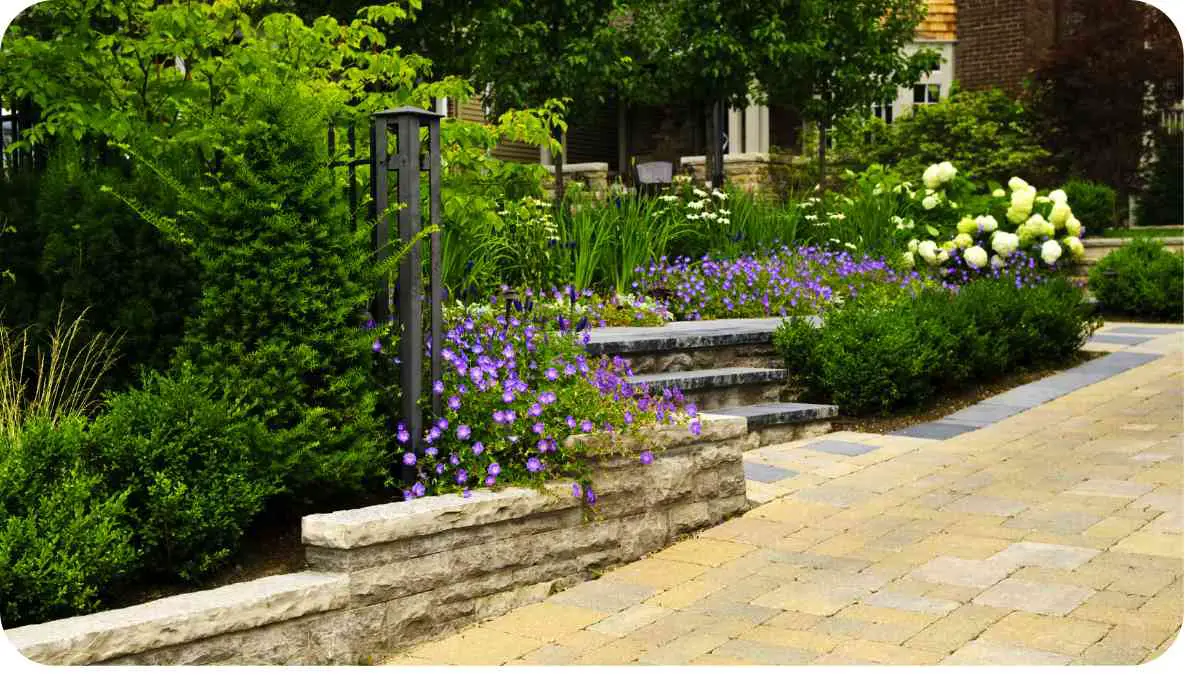
Transforming your flower beds with pavers can add functionality, beauty, and value to your outdoor space. Whether you’re looking to create a cozy pathway or a stunning patio area, laying pavers in flower beds is a rewarding DIY project that can be accomplished with the right guidance and preparation.
Before you dive into the project, let’s explore the essential steps and considerations to ensure success.
| Key Takeaways |
|---|
| Proper planning and preparation are essential for successful paver installation. |
| Choose the right type of pavers based on your aesthetic preferences and maintenance needs. |
| Accurate measurement and calculation of materials ensure you have enough supplies for the project. |
| Invest in quality tools for cutting and placing pavers to achieve professional results. |
| Regular maintenance is crucial for preserving the appearance and longevity of your paver flower bed. |
2. Planning Your Paver Project
Tools and Materials Checklist
| Tools | Materials |
|---|---|
| Shovel | Pavers |
| Rake | Base material |
| Tape measure | Edge restraints |
| Level | Jointing sand |
| Rubber mallet | Sealer (optional) |
| Saw (for cutting) |
3. Preparing the Flower Bed
Steps for Preparing the Flower Bed
| Step | Description |
|---|---|
| Clear the area | Remove any existing vegetation and debris from the bed. |
| Mark the boundaries | Use stakes and string to outline the desired shape. |
| Dig the trench | Dig a trench along the perimeter of the bed. |
| Add edging | Install edge restraints to keep pavers in place. |
| Compact the soil | Use a compactor to ensure a stable base. |
Preparing the flower bed is crucial for a durable and long-lasting paver installation. Take your time with this step to create a solid foundation for your project.
Embark on the journey of creating your dream flower garden with this comprehensive guide. From selecting the right plants to arranging them aesthetically, get started on your floral paradise today.
4. Choosing the Right Pavers
Types of Pavers and Their Characteristics
| Paver Type | Characteristics |
|---|---|
| Concrete | Durable and versatile, available in various colors. |
| Natural Stone | Offers a unique, natural look, but can be expensive. |
| Brick | Classic and timeless, but may require more maintenance. |
| Interlocking | Easy to install and provides a uniform appearance. |
Consider the style, durability, and maintenance requirements of each paver type before making your selection.
5. Calculating Materials Needed
Material Calculation Guide
To ensure you purchase the correct amount of materials for your project, follow these simple calculations:
- Pavers: Measure the length and width of the flower bed in feet. Multiply these dimensions to find the total square footage. Add 10% to account for cutting and waste.
- Base Material: Multiply the total square footage by the depth of the base material (usually 4-6 inches) to find the volume in cubic feet.
- Jointing Sand: Estimate the amount of jointing sand needed based on the size of the paver joints and the total square footage.
- Edge Restraints: Measure the linear footage of the flower bed perimeter to determine the length of edge restraints needed.
Having accurate measurements will prevent costly mistakes and ensure you have everything you need to complete the project smoothly.
Keep pesky cats away from your beautiful blooms with effective strategies outlined in this comprehensive guide. Discover humane methods and deterrents to ensure your flower garden remains a feline-free zone. Learn more about protecting your flowers.
6. Setting the Foundation
Steps for Setting the Foundation
| Step | Description |
|---|---|
| Excavate the area | Remove soil to the depth of the base material. |
| Compact the soil | Use a plate compactor to create a stable base. |
| Add base material | Spread a layer of base material evenly across the area. |
| Compact again | Compact the base material to ensure uniformity. |
| Check for level | Use a level to ensure the surface is flat and even. |
7. Placing the Pavers
Tips for Properly Placing Pavers
| Tip | Description |
|---|---|
| Start from one corner | Begin laying pavers from one corner of the flower bed. |
| Use a straight edge | Align pavers using a straight edge to maintain symmetry. |
| Maintain consistent spacing | Use spacers to ensure uniform gaps between pavers. |
| Tap gently with a rubber mallet | Tap each paver into place to ensure it’s level and secure. |
| Check for level and alignment | Use a level and string to check for level and straight lines. |
Taking care during the paver installation process will result in a professional-looking finish that enhances your flower bed’s aesthetic appeal.
8. Cutting Pavers to Fit
Tools for Cutting Pavers
| Tool | Description |
|---|---|
| Wet saw | Ideal for cutting precise straight lines on pavers. |
| Brick chisel and hammer | Suitable for cutting curves or irregular shapes. |
| Angle grinder with diamond blade | Provides versatility for various cutting tasks. |
| Paver splitter | Useful for splitting pavers cleanly along scored lines. |
| Safety goggles and gloves | Essential for protecting yourself during cutting. |
Invest in the right tools for cutting pavers to ensure accurate and clean cuts, especially for intricate patterns or curved edges.
As winter fades away, it’s time to revitalize your flower beds with expert tips and techniques. Dive into this comprehensive guide to learn how to clean and prepare your flower beds for the vibrant seasons ahead.
9. Filling the Gaps
Types of Jointing Materials
| Jointing Material | Description |
|---|---|
| Polymeric sand | Forms a strong bond when activated with water. |
| Regular sand | Affordable option but may require frequent refilling. |
| Stone dust | Provides excellent stability but can be messy to work with. |
| Polymeric sand with additives | Offers enhanced resistance to weed growth and erosion. |
| Epoxy resin | Creates a durable and water-resistant joint. |
Selecting the right jointing material is crucial for maintaining the stability and longevity of your paver flower bed.
10. Sealing the Pavers
Benefits of Sealing Pavers
| Benefit | Description |
|---|---|
| Enhances color | Sealer can intensify the natural colors of the pavers. |
| Protects against stains and UV damage | Sealing prevents oil, dirt, and UV rays from penetrating the surface. |
| Reduces weed growth | Sealed pavers are less susceptible to weed growth in the joints. |
| Improves durability | Sealer adds an extra layer of protection against wear and weathering. |
11. Maintaining Your Paver Flower Bed
Maintenance Schedule
| Maintenance Task | Frequency |
|---|---|
| Sweep or hose off debris | Weekly |
| Reapply jointing sand | Annually |
| Inspect for weeds | Monthly |
| Pressure wash surface | Biannually |
| Reapply sealer (if applicable) | Every 2-3 years |
Regular maintenance is key to preserving the beauty and functionality of your paver flower bed. Establishing a maintenance schedule will help prevent issues and ensure your investment lasts for years to come.
Bid farewell to stubborn weeds and reclaim the beauty of your flower beds with this comprehensive guide. Explore effective strategies and safe weed killer options to combat weeds without harming your beloved blooms.
12. Troubleshooting Common Issues
Common Paver Problems and Solutions
| Problem | Solution |
|---|---|
| Weeds growing between pavers | Apply weed killer or pull weeds by hand regularly. |
| Pavers shifting or sinking | Relevel the base and reset the pavers as needed. |
| Stains or discoloration | Clean with a paver cleaner or pressure wash the surface. |
| Ants or other pests | Use insecticide or natural repellents to deter pests. |
| Uneven jointing material | Add more jointing sand or reapply polymeric sand as needed. |
Addressing common issues promptly will prevent them from escalating and ensure your paver flower bed remains in top condition.
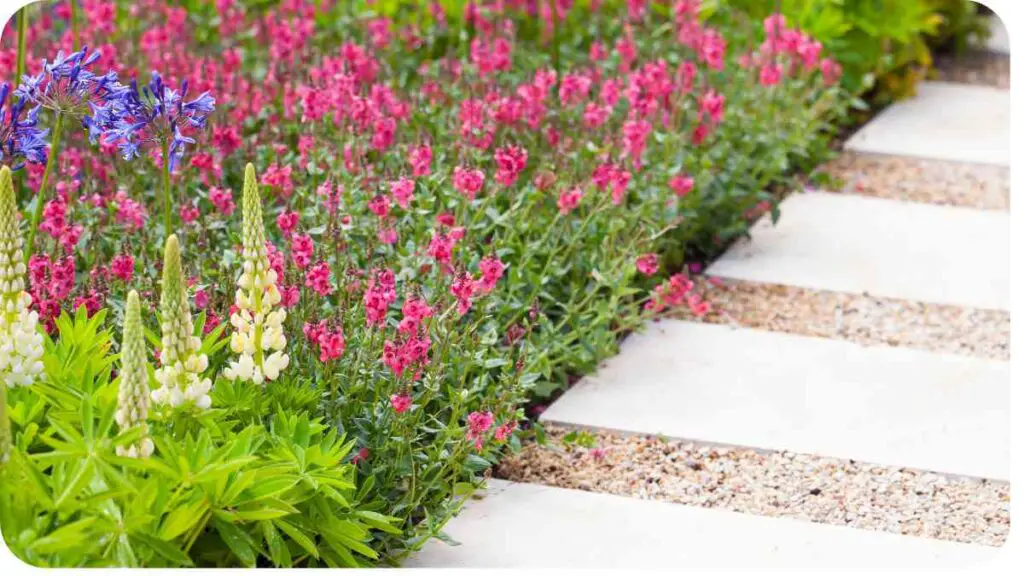
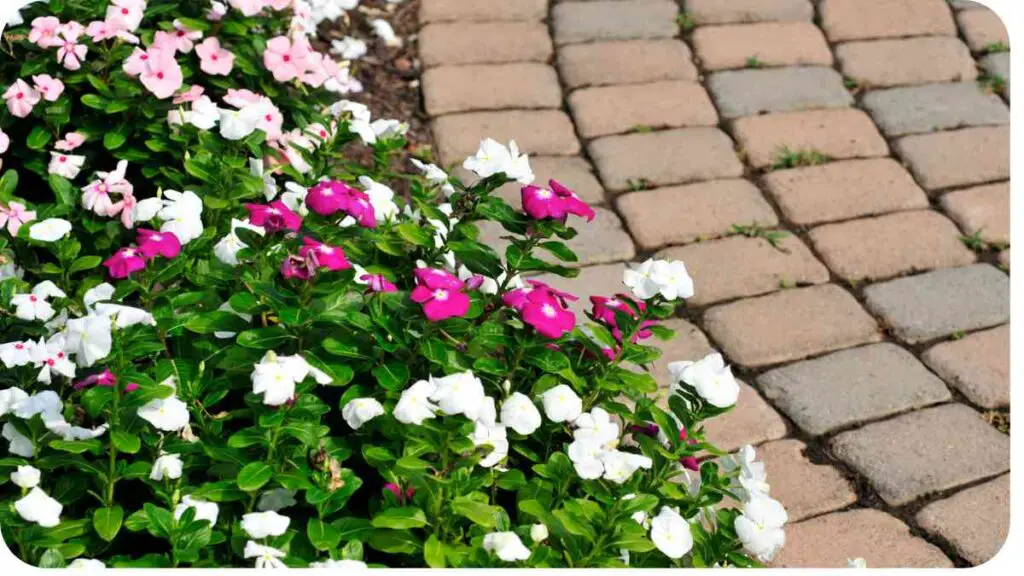
13. Enhancing Your Flower Bed with Pavers
Adding pavers to your flower bed not only improves its functionality but also enhances its visual appeal. Here are some creative ways to elevate your flower bed with pavers:
- Create a Border: Use pavers to create a defined border around your flower bed. This adds structure and prevents soil erosion while highlighting the beauty of your plants.
- Design a Pathway: Install pavers to create a charming pathway through your flower bed. This not only adds functionality but also encourages exploration of your garden.
- Build Raised Beds: Construct raised beds using pavers to add dimension to your flower bed. Raised beds provide better drainage and make it easier to maintain your plants.
- Add Decorative Accents: Incorporate decorative pavers with unique patterns or textures to add visual interest to your flower bed. Experiment with different layouts to create a personalized touch.
- Install a Patio: Extend your outdoor living space by installing a paver patio within your flower bed. This provides a cozy area to relax and enjoy your garden.
By incorporating pavers creatively, you can transform your flower bed into a stunning focal point in your landscape.
Uncover the right weed killer for your flower beds with this informative guide. From selective herbicides to organic solutions, find out which options suit your needs best and restore your flower beds to their former glory.
14. Conclusion
Laying pavers in flower beds is a rewarding DIY project that adds beauty, functionality, and value to your outdoor space. By following the steps outlined in this guide and incorporating creative design ideas, you can create a stunning paver flower bed that enhances your landscape for years to come.
Remember to plan carefully, prepare the area thoroughly, and choose high-quality materials to ensure a successful outcome. With proper installation and maintenance, your paver flower bed will be a source of enjoyment for you and your family for years to come.
Further Reading
- MasterClass: How to Lay Pavers: Learn expert tips and techniques for laying pavers to create stunning outdoor spaces.
- Creating Mary’s Home: How to Install a Paver Patio: Follow along as Mary shares her experience installing a paver patio as the foundation for raised garden beds.
- The Spruce: How to Install Lawn Edging: Discover step-by-step instructions for installing lawn edging to enhance the appearance of your flower beds.
FAQs
How do I prepare the flower bed for paver installation?
To prepare the flower bed, clear the area of vegetation and debris, mark the boundaries, dig a trench, add edge restraints, and compact the soil.
What types of pavers are available for flower beds?
Common types of pavers include concrete, natural stone, brick, and interlocking pavers, each offering unique characteristics and aesthetics.
How do I calculate the materials needed for my paver project?
To calculate materials, measure the area of the flower bed, determine the depth of base material, estimate jointing sand requirements, and consider edge restraint lengths.
How do I ensure proper placement and alignment of the pavers?
Start from one corner, use a straight edge for alignment, maintain consistent spacing with spacers, tap gently with a rubber mallet, and check for level and alignment frequently.
Do I need to seal the pavers after installation?
Sealing pavers is optional but recommended to enhance color, protect against stains and UV damage, reduce weed growth, and improve durability.
For 15 years, Hellen James has worked in the gardening industry as an expert and landscape designer. During her career, she has worked for a variety of businesses that specialize in landscaping and gardening from small firms to large corporations.