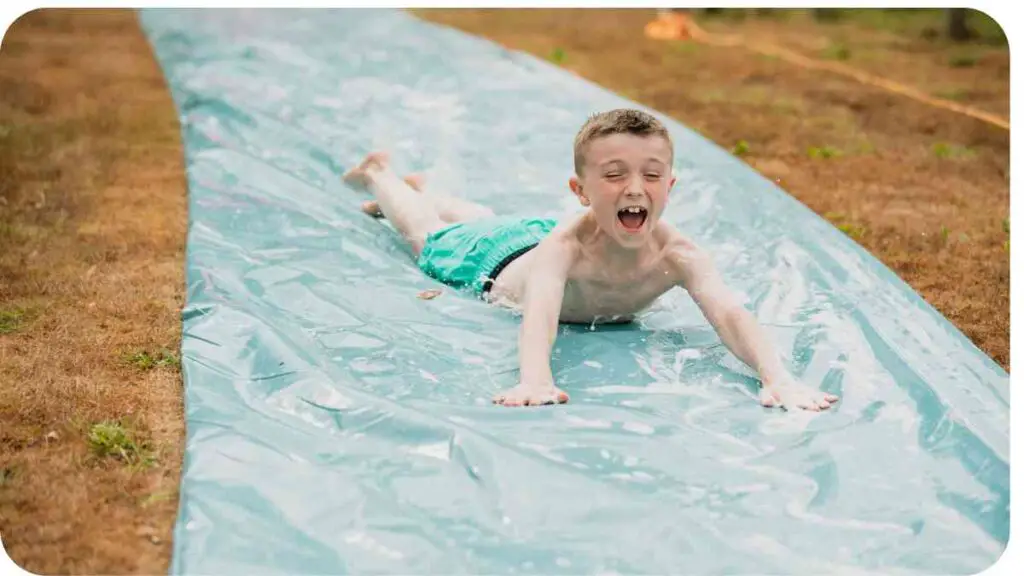
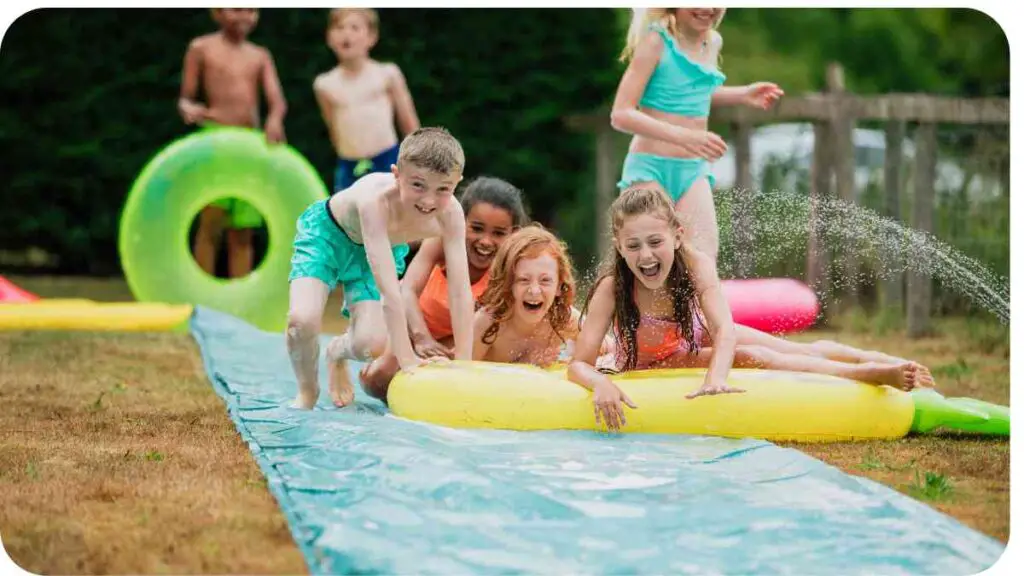
Remember those hot summer days when all you wanted was to cool off and have some fun? Well, creating a slip and slide in your backyard is the perfect solution! It’s easy, affordable, and provides hours of entertainment for both kids and adults.
In this guide, I’ll walk you through every step of the process, sharing tips and tricks I’ve picked up over the years to ensure your DIY slip and slide is a hit.
| Takeaways |
|---|
| Creating a slip and slide in your backyard is a fun and easy way to cool off during summer. |
| Gather all necessary materials, including heavy-duty plastic sheeting, pool noodles, ground stakes, a garden hose, and soap. |
| Choose a safe location with a gentle slope, free of obstacles, and near a water source. |
| Secure the plastic sheeting with ground stakes to prevent it from moving or bunching up. |
| Add soap and water to make the slide slippery, and use biodegradable soap to protect your lawn and the environment. |
| Always ensure safety by having adult supervision, setting sliding rules, and regularly checking for obstacles. |
| Enhance the experience with fun add-ons like inflatable toys, sprinklers, and a small pool at the end. |
| Maintain your slip and slide by rinsing off soap residue and letting it dry completely before storing. |
| Troubleshoot common issues like tearing, bunching, and slipping by using duct tape, additional stakes, and more soap and water. |
| Enjoy a memorable summer activity that provides hours of entertainment for both kids and adults. |
Materials Needed
Before you start, gather all the necessary materials. Trust me, having everything ready will save you a lot of time and frustration later on.
Transform your backyard into a haven of creativity and fun with our guide on delightful DIY projects. If you’re looking for a unique summer activity, learn how to make a slip and slide for endless entertainment.
Table: Materials Checklist
| Material | Quantity |
|---|---|
| Heavy-duty plastic sheeting | 1 roll (10×100 ft) |
| Pool noodles | 10-12 |
| Ground stakes | 20 |
| Garden hose | 1 |
| Baby shampoo or dish soap | 1 bottle |
| Hammer | 1 |
| Scissors | 1 pair |
Choosing the Perfect Location
Picking the right spot for your slip and slide is crucial. You want a location that’s safe, has a gentle slope, and is free of obstacles like rocks and tree roots.
Table: Location Comparison
| Criteria | Location 1 | Location 2 | Location 3 |
|---|---|---|---|
| Gentle slope | Yes | No | Yes |
| Free of obstacles | Yes | Yes | No |
| Soft ground | Yes | No | Yes |
| Near water source | Yes | Yes | Yes |
Preparing the Ground
Once you’ve chosen the perfect spot, it’s time to prepare the ground. Clear any debris, rocks, or sticks that could cause injuries or damage your slide. A smooth surface ensures a safer and more enjoyable experience.
Create a peaceful oasis right in your backyard to unwind and relax. For a fun summer twist, check out how to make a slip and slide and add a playful element to your tranquil retreat.
Creating the Slip and Slide Base

Unroll your plastic sheeting and lay it out on the ground. Make sure it covers the entire length of your slide area. If needed, you can overlap multiple sheets to get the desired length.
Table: Base Materials
| Item | Purpose |
|---|---|
| Heavy-duty plastic sheeting | Slip surface |
| Pool noodles | Soft edges |
| Ground stakes | Securing the slide in place |
Securing the Slide
Use ground stakes to secure the plastic sheeting in place. This will prevent it from moving or bunching up while in use. Place stakes along the edges and at intervals down the length of the slide. Be sure to hammer them in well so they don’t become hazards.
Find your perfect outdoor relaxation spot and enjoy nature’s beauty. Enhance your backyard with exciting features like a slip and slide. Discover how to make a slip and slide to create a cozy nook for both fun and relaxation.
Adding Soap and Water
Here’s where the real fun begins! Attach your garden hose to a water source and run it along the top of the slide. Spread baby shampoo or dish soap along the slide’s surface to make it super slippery. Avoid using regular soap as it can dry out the plastic and cause irritation.
Safety Measures
Safety first! Always ensure there is adequate supervision when the slip and slide is in use. Set rules to prevent accidents and make sure everyone knows how to slide safely.
Table: Safety Tips
| Tip | Details |
|---|---|
| Supervision | Always have an adult present |
| Sliding rules | Feet first, no running starts |
| Obstacle check | Regularly check for new obstacles |
| Hydration | Keep water nearby for drinking |
Testing Your Slip and Slide
Before letting everyone loose, do a test run. Check for any issues like rough spots, lack of water coverage, or insecure areas. Adjust as needed to ensure a smooth and safe slide.
Explore various activities to enjoy outside in your backyard, from gardening to hosting parties. One standout idea is to make a slip and slide, ensuring hours of fun for everyone involved.
Fun Add-Ons and Accessories
Make your slip and slide even more exciting with some fun add-ons. Think inflatable toys, sprinklers, and even a small pool at the end for a splashy finish.
Table: Accessory Ideas
| Accessory | Description |
|---|---|
| Inflatable toys | Adds extra fun and challenges |
| Sprinklers | Keeps the slide wet |
| Small pool | Splashy finish at the end |
| Colorful flags | Mark lanes for races |
Maintenance Tips
Keeping your slip and slide in good shape will extend its life and ensure safe use. After each use, rinse off any soap residue and let it dry completely before storing it away.
Common Problems and Solutions

Even with the best preparation, issues can arise. Here are some common problems and how to fix them:
- Tearing: Use duct tape to patch small tears.
- Bunching: Secure with additional stakes.
- Slipping: Add more soap and water.
Expert Tips for the Ultimate Experience
Having created many slip and slides over the years, I’ve learned a few tricks to enhance the experience. For example, using biodegradable soap is better for the environment and won’t harm your lawn. Also, creating a gentle slope with extra padding at the end can help prevent injuries.
Revamp your backyard into a playground of fun and adventure. A great addition to your space is learning how to make a slip and slide, perfect for creating unforgettable summer memories.
Conclusion
Creating a slip and slide in your backyard is a fantastic way to beat the heat and have fun. With the right materials, preparation, and safety measures, you can create a memorable summer activity for everyone to enjoy. So, gather your supplies, pick the perfect spot, and get ready to slide into summer fun!
Further Reading
If you’re looking for more inspiration and detailed guides on making a slip and slide, check out these resources:
- DIY Slip and Slide – PopSci: A comprehensive guide on creating a slip and slide with detailed instructions and tips.
- How to Make Your Own DIY Slip and Slide – HGTV: This article provides step-by-step instructions along with creative ideas for customizing your slip and slide.
- Giant 100-Foot Slip and Slide DIY – A Beautiful Mess: Learn how to create an epic 100-foot slip and slide, complete with fun decorations and safety tips.
FAQs
How do you make a slip and slide in your backyard?
To make a slip and slide in your backyard, you’ll need heavy-duty plastic sheeting, pool noodles, ground stakes, a garden hose, and soap. Lay out the plastic sheeting, secure it with stakes, add soap and water, and you’re ready to slide!
What type of plastic is best for a DIY slip and slide?
Heavy-duty plastic sheeting, such as a 10×100 ft roll, is ideal for a DIY slip and slide. It’s durable, large enough to cover a long distance, and can handle the wear and tear of sliding.
Can you use regular soap on a slip and slide?
While you can use regular soap, it’s better to use baby shampoo or dish soap as they are gentler on the skin and won’t dry out the plastic sheeting. Avoid using soaps that can cause irritation or damage the slide.
How do you ensure safety on a slip and slide?
Ensure safety by having adult supervision, setting rules for safe sliding (e.g., feet first, no running starts), regularly checking for obstacles, and keeping the slide well-lubricated with soap and water. Hydration is also important.
What are some fun add-ons for a slip and slide?
Some fun add-ons for a slip and slide include inflatable toys, sprinklers, a small pool at the end, and colorful flags to mark lanes for races. These accessories can enhance the experience and provide additional entertainment.

For 15 years, Hellen James has worked in the gardening industry as an expert and landscape designer. During her career, she has worked for a variety of businesses that specialize in landscaping and gardening from small firms to large corporations.

