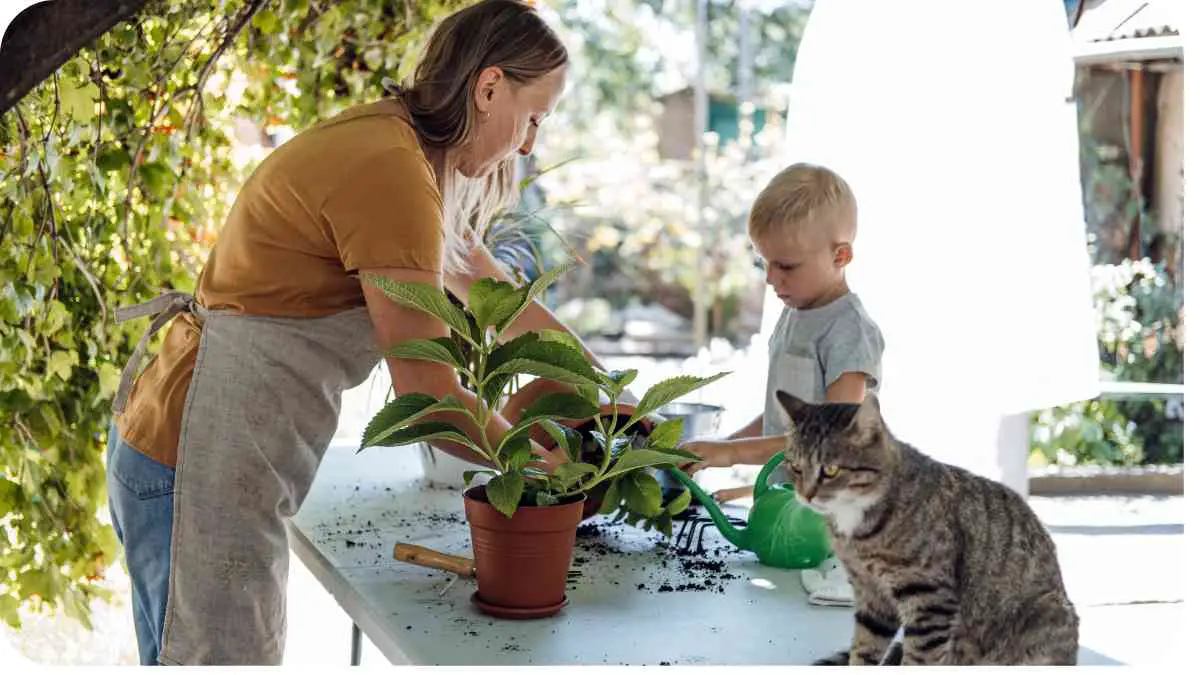
Houseplants are more than just decorations; they’re living beings that require attention and care. When it comes time to move them, it’s essential to approach the process with care and consideration for their needs.
In this guide, we’ll cover every aspect of moving houseplants, ensuring that you have all the information necessary to make the transition as smooth as possible.
| Key Takeaways |
|---|
| 1. Proper preparation is essential for moving houseplants safely. |
| 2. Assess your houseplant’s health before the move and address any issues. |
| 3. Choose the right container and soil mix to support your plant’s needs. |
| 4. Pay attention to watering, humidity, and light requirements during and after the move. |
| 5. Gradually acclimate your houseplant to its new environment to minimize stress. |
| 6. Monitor for signs of stress or damage after the move and address promptly. |
| 7. Avoid common mistakes such as overwatering, exposing plants to extreme conditions, and neglecting signs of stress. |
| 8. Utilize additional resources for more information and expert advice on moving houseplants. |
2. Assessing Your Houseplant
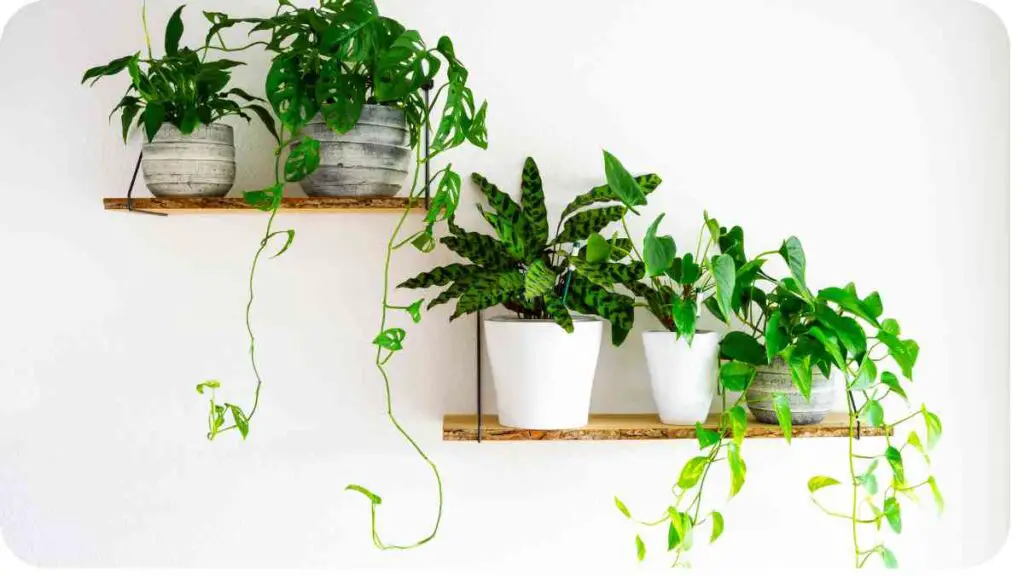
Before embarking on the moving process, it’s crucial to assess the health and condition of your houseplant. This step will help you determine its readiness for the move and identify any potential issues that need to be addressed beforehand.
When moving houseplants, proper packing is crucial for their safety and health. Ensure they’re snugly secured in containers with adequate padding and support.” – How to Pack Potted Plants for a Move: A Comprehensive Guide.
Table: Houseplant Assessment Checklist
| Aspect | Description |
|---|---|
| Size and Growth | Measure the height and width of the plant. |
| Soil Condition | Check for signs of compacted soil or root-bound growth. |
| Leaf Health | Inspect the leaves for discoloration, spots, or pests. |
| Root Health | Examine the roots for signs of rot or overgrowth. |
| Overall Appearance | Assess the general appearance and vitality of the plant. |
Once you’ve completed your assessment, you’ll have a better understanding of your houseplant’s current state and any necessary steps to take before the move.
3. Preparing Your Houseplant for the Move
Preparing your houseplant for relocation is crucial to ensure its survival during the transition. Taking the time to properly prepare your plant will minimize stress and increase its chances of thriving in its new environment.
Table: Preparing Your Houseplant Checklist
| Task | Description |
|---|---|
| Repotting (if necessary) | Transfer the plant to a new pot if it has outgrown its current container. |
| Pruning | Trim any dead or overgrown foliage to encourage healthy growth. |
| Pest Control | Treat any pests or diseases to prevent infestations during the move. |
| Watering | Ensure the plant is adequately hydrated but not waterlogged before the move. |
| Acclimatization Period | Gradually expose the plant to its new location’s light and temperature conditions. |
By following this checklist, you’ll give your houseplant the best possible chance of thriving after the move.
4. Choosing the Right Container
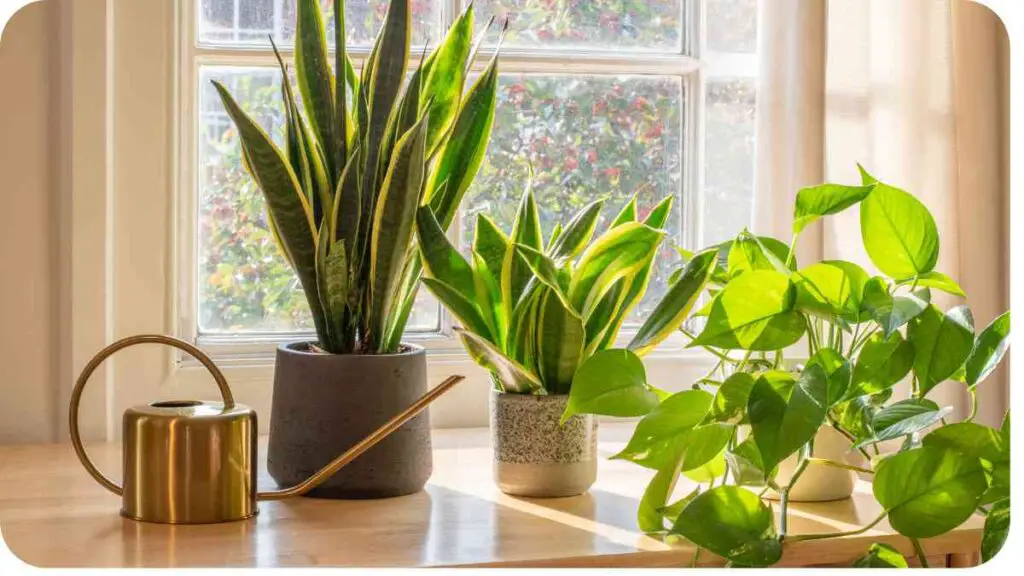
Selecting the appropriate container for your houseplant is essential for its well-being. Consider factors such as size, material, and drainage to ensure optimal growth.
When choosing a container, opt for one that provides ample room for the plant’s roots to grow and has drainage holes to prevent waterlogging. Additionally, consider the aesthetic appeal of the container and how it will complement your plant’s foliage.
Selecting the right fertilizer can significantly impact the growth and vitality of your potted plants. Learn about the best fertilizers to nurture your indoor greenery effectively.” – What Is a Good Fertilizer for Potted Plants?
5. Soil and Potting Mixes
The type of soil and potting mix you use can significantly impact your houseplant’s health and growth. Different plants have varying soil preferences, so it’s essential to choose the right mix for your specific species.
Table: Soil and Potting Mix Comparison
| Soil Type | Description | Best For |
|---|---|---|
| Peat-Based Mix | Retains moisture well, suitable for tropical plants | Ferns, Peace lilies |
| Cactus Mix | Well-draining, suitable for succulents and cacti | Cacti, Succulents |
| Orchid Mix | Aerated and fast-draining, suitable for orchids | Orchids |
| All-Purpose Mix | Versatile mix suitable for a wide range of houseplants | Philodendrons, Spider plants |
Choosing the right soil and potting mix will provide your houseplant with the nutrients and drainage it needs to thrive in its new container.
Shall we move on to discuss watering and humidity needs for your houseplant?
6. Watering and Humidity Needs
Proper watering is essential for the health and vitality of your houseplant. Understanding your plant’s specific watering requirements and humidity preferences will help ensure its well-being during and after the move.
Well-draining soil is essential for the health of indoor plants, preventing issues like root rot and waterlogging. Discover how to create the perfect soil mix for your beloved houseplants.” – The Ultimate Guide to Well-Draining Soil for Indoor Plants.
Table: Watering and Humidity Guidelines
| Houseplant Type | Watering Frequency | Humidity Preference |
|---|---|---|
| Tropical Plants | Keep soil consistently moist, but not waterlogged | High humidity levels |
| Succulents | Allow soil to dry out completely between waterings | Low humidity levels |
| Ferns | Keep soil consistently moist, but not waterlogged | High humidity levels |
| Desert Plants | Water sparingly, allow soil to dry out between waterings | Low to moderate humidity |
Understanding your houseplant’s watering and humidity needs will help you create the ideal environment for it to thrive in its new location.
7. Pruning and Trimming
Regular pruning and trimming are essential for maintaining the health and appearance of your houseplant. Removing dead or overgrown foliage encourages new growth and helps prevent disease and pest infestations.
Before the move, take the time to inspect your houseplant for any dead or damaged leaves, stems, or branches. Use clean, sharp scissors or pruning shears to carefully trim away any unwanted growth, making sure to cut at a 45-degree angle to promote healing.
Pruning your houseplant before the move will not only improve its appearance but also reduce the risk of stress-related issues during the transition.
Moving houseplants can be stressful for both you and your green companions. However, with careful planning and execution, you can ensure a smooth and successful transition for your plants. By following the tips and guidelines outlined in this guide, you’ll be well-equipped to move your houseplants with confidence and ease.
8. Transportation Tips
Transporting your houseplant from one location to another requires careful consideration to minimize stress and potential damage. Whether you’re moving across town or across the country, following these transportation tips will help ensure your plant arrives at its new home in optimal condition.
Root rot can spell disaster for houseplants if not prevented. Explore comprehensive strategies to safeguard your indoor greenery from this common yet harmful condition.” – How to Prevent Root Rot in Houseplants: A Comprehensive Guide.
Table: Transportation Supplies Checklist
| Supplies | Description |
|---|---|
| Cardboard Box or Container | Choose a sturdy box or container that provides ample room for the plant and its foliage. |
| Packing Material | Use newspaper, bubble wrap, or packing peanuts to cushion the plant during transport. |
| Securing Materials | Rubber bands or twine to secure the plant in place and prevent movement during transit. |
| Ventilation | Ensure the box or container has ventilation holes to allow for airflow during transport. |
| Handle with Care Stickers | Label the box with “Handle with Care” stickers to alert movers or handlers to its fragility. |
Once you’ve gathered your transportation supplies, follow these steps to safely move your houseplant to its new location:
- Prepare the Plant: Trim any excess foliage and remove dead leaves or flowers. Water the plant thoroughly a day or two before the move to ensure it’s adequately hydrated but not waterlogged.
- Secure the Pot: Use rubber bands or twine to secure the pot in place within the container to prevent it from tipping over during transport.
- Protect the Foliage: Wrap delicate foliage in newspaper or bubble wrap to protect it from damage during transit. Make sure to leave space around the leaves to prevent them from being crushed.
- Provide Ventilation: Ensure the container has ventilation holes to allow for airflow during transport. Avoid sealing the container completely, as this can lead to suffocation and moisture buildup.
- Label the Box: Clearly label the box with the plant’s name and any special care instructions. Use “Handle with Care” stickers to alert movers or handlers to its fragility.
- Transport with Care: Place the box in a secure location during transit, away from extreme temperatures and direct sunlight. Avoid placing heavy items on top of the box to prevent crushing or damage to the plant.
By following these transportation tips, you can ensure a safe and stress-free journey for your houseplant to its new home.
9. Adjusting to the New Environment
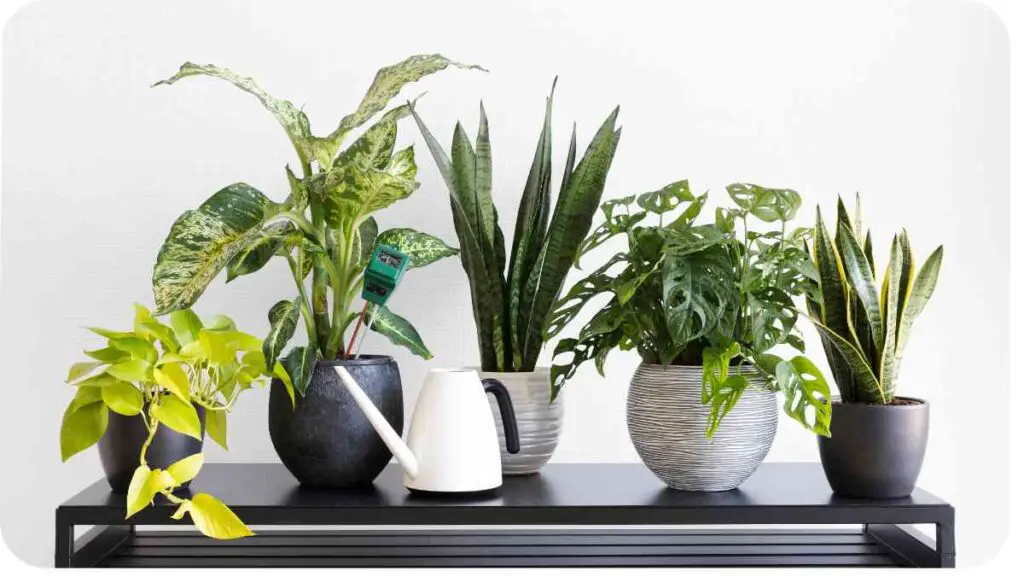
Moving can be a significant adjustment for houseplants, as they become accustomed to new light, temperature, and humidity conditions. Helping your plant acclimate to its new environment is crucial for its long-term health and well-being.
After the move, follow these steps to help your houseplant adjust:
- Gradual Exposure: Introduce your houseplant to its new surroundings gradually to prevent shock. Start by placing it in a location with similar light and temperature conditions to its previous environment.
- Monitor Moisture Levels: Pay close attention to the soil moisture levels in the days following the move. Changes in humidity and temperature can affect how quickly the soil dries out, so adjust your watering schedule accordingly.
- Provide Humidity: If your houseplant prefers high humidity levels, consider placing a humidity tray or using a humidifier to maintain optimal moisture levels in the air.
- Avoid Repotting: Refrain from repotting your houseplant immediately after the move, as this can add additional stress. Allow your plant to settle into its new environment before considering repotting.
- Maintain Consistency: Try to maintain a consistent watering and care routine to help your houseplant adjust more easily. Consistency in care will provide stability during the adjustment period.
- Monitor for Signs of Stress: Keep an eye out for signs of stress such as wilting, yellowing leaves, or drooping foliage. Address any issues promptly to prevent further damage to your plant.
By providing a supportive environment and monitoring your houseplant closely, you can help it adjust to its new surroundings and thrive in its new home.
Knowing the right time to repot your houseplants is crucial for their continued health and growth. Learn the signs and timing to ensure your indoor greenery thrives.” – When Can I Repot My Houseplants?
10. Common Houseplant Moving Mistakes to Avoid
Moving houseplants can be challenging, but avoiding these common mistakes can help minimize stress and ensure the well-being of your green companions:
- Ignoring Preparation: Failing to prepare your houseplant for the move can lead to unnecessary stress and damage. Take the time to assess its health, trim any dead or overgrown foliage, and ensure it’s adequately hydrated before the move.
- Overwatering: While it’s essential to ensure your plant is adequately hydrated before the move, overwatering can lead to waterlogged soil and root rot. Avoid watering excessively in the days leading up to the move to prevent water-related issues during transit.
- Neglecting Transportation Needs: Using inadequate packing materials or failing to secure the plant properly during transport can result in damage or injury. Invest in sturdy boxes, packing material, and securing materials to protect your plant during transit.
- Exposing Plants to Extreme Conditions: Placing houseplants in direct sunlight or extreme temperatures during transport can cause stress and damage. Keep your plants in a secure, temperature-controlled environment during transit to minimize exposure to harsh conditions.
- Skipping Acclimatization: Failing to acclimate your houseplant to its new environment gradually can shock the plant and hinder its ability to adjust. Introduce your plant to its new surroundings gradually, allowing it to adapt to changes in light, temperature, and humidity over time.
- Repotting Immediately: Repotting your houseplant immediately after the move can add additional stress and disrupt its adjustment process. Allow your plant to settle into its new environment before considering repotting.
- Ignoring Signs of Stress: Neglecting to monitor your houseplant for signs of stress or damage after the move can exacerbate existing issues. Keep a close eye on your plant in the days and weeks following the move, addressing any issues promptly to prevent further damage.
By avoiding these common mistakes and taking proactive steps to care for your houseplants during the moving process, you can ensure a smooth transition and promote the health and vitality of your green companions.
11. Troubleshooting Common Issues After Moving
Even with careful planning and execution, houseplants may encounter issues after being moved to a new environment. Understanding common problems and how to address them can help mitigate damage and promote the health of your plants.
Here are some common issues you may encounter after moving your houseplants, along with troubleshooting tips:
- Wilting: Wilting is often a sign of underwatering or stress. Check the soil moisture levels and adjust your watering schedule accordingly. Ensure the plant is receiving adequate light and humidity to support its growth.
- Yellowing Leaves: Yellowing leaves can indicate overwatering, nutrient deficiencies, or shock. Check the soil moisture levels and adjust your watering frequency if necessary. Consider providing a balanced fertilizer to replenish nutrients lost during the move.
- Drooping Foliage: Drooping foliage may be a sign of stress or inadequate support. Ensure the plant is securely anchored in its pot and receiving proper support. Adjust its positioning to optimize light and airflow if needed.
- Pest Infestations: Moving can sometimes introduce pests to your houseplants. Inspect the plant regularly for signs of pests such as webs, spots, or holes in the leaves. Treat any infestations promptly using insecticidal soap or neem oil.
- Root Rot: Root rot can occur if the plant is overwatered or the soil remains too wet for an extended period. If you suspect root rot, gently remove the plant from its pot and inspect the roots. Trim away any mushy or discolored roots and repot the plant in fresh, well-draining soil.
- Fungal Diseases: Fungal diseases such as powdery mildew or leaf spot may develop in humid or poorly ventilated conditions. Improve airflow around the plant and avoid overhead watering to reduce humidity levels. Treat affected areas with a fungicide if necessary.
- Leaf Burn: Leaf burn can occur if the plant is exposed to direct sunlight or extreme temperatures. Move the plant to a location with filtered or indirect light and ensure it’s protected from drafts or sudden temperature changes.
By identifying and addressing common issues promptly, you can help your houseplants recover from the stress of moving and thrive in their new environment.
Now, let’s wrap up with a conclusion summarizing the key points of the guide and providing some final thoughts on moving houseplants.
12. Conclusion
Moving houseplants can be a daunting task, but with proper planning and care, you can ensure a smooth transition for your green companions. By following the guidelines outlined in this guide, you can minimize stress and promote the health and well-being of your houseplants throughout the moving process.
Start by assessing your houseplant’s health and preparing it for the move by trimming any excess foliage and addressing any pest or disease issues. Choose the right container and soil mix for your plant’s needs, and take steps to ensure proper watering and humidity levels during and after the move.
When transporting your houseplant, use sturdy containers and packing materials to protect it from damage, and provide adequate ventilation to prevent suffocation. After the move, help your plant adjust to its new environment gradually and monitor it closely for signs of stress or damage.
By avoiding common mistakes such as overwatering, exposing plants to extreme conditions, and neglecting signs of stress, you can ensure a successful transition for your houseplants and promote their long-term health and vitality.
Remember that each houseplant is unique, and it may take time for them to adjust to their new surroundings. Be patient and attentive to your plants’ needs, and they will reward you with lush foliage and vibrant growth in their new home.
14. FAQs
Q: Can I transport my houseplants in my car during a move?
A: Yes, you can transport houseplants in your car during a move. Just be sure to secure them properly and provide adequate ventilation to prevent stress and damage.
Q: How long does it take for houseplants to adjust to a new environment?
A: Houseplants typically take anywhere from a few days to a few weeks to adjust to a new environment, depending on factors such as light, temperature, and humidity.
Q: Should I repot my houseplants after moving?
A: It’s best to wait until your houseplant has had time to adjust to its new environment before considering repotting. Repotting immediately after a move can add additional stress to the plant.
Further Reading
Here are some additional resources to explore for more information on moving houseplants:
- Atlas Van Lines: Plant Transport Guide: This comprehensive guide provides tips and tools for safely transporting your plants during a move.
- Architectural Digest: How to Move Plants: Learn expert tips and advice on how to move your plants to your new home seamlessly.
- HGTV: How to Move Houseplants to Your New Home: This article offers practical advice on how to successfully move your houseplants and ensure they thrive in their new environment.
FAQs
Can I transport my houseplants in my car during a move?
Yes, you can transport houseplants in your car during a move. Just be sure to secure them properly and provide adequate ventilation to prevent stress and damage.
How long does it take for houseplants to adjust to a new environment?
Houseplants typically take anywhere from a few days to a few weeks to adjust to a new environment, depending on factors such as light, temperature, and humidity.
Should I repot my houseplants after moving?
It’s best to wait until your houseplant has had time to adjust to its new environment before considering repotting. Repotting immediately after a move can add additional stress to the plant.
How can I prevent pest infestations when moving houseplants?
Inspect your plants carefully before the move and treat any pest infestations with appropriate measures. Consider using insecticidal soap or neem oil to control pests and prevent infestations during transit.
What should I do if my houseplant shows signs of stress after moving?
Monitor your houseplant closely for signs of stress such as wilting, yellowing leaves, or drooping foliage. Adjust watering, light, and humidity levels as needed, and provide extra care and attention to help your plant recover from the move.

For 15 years, Hellen James has worked in the gardening industry as an expert and landscape designer. During her career, she has worked for a variety of businesses that specialize in landscaping and gardening from small firms to large corporations.

