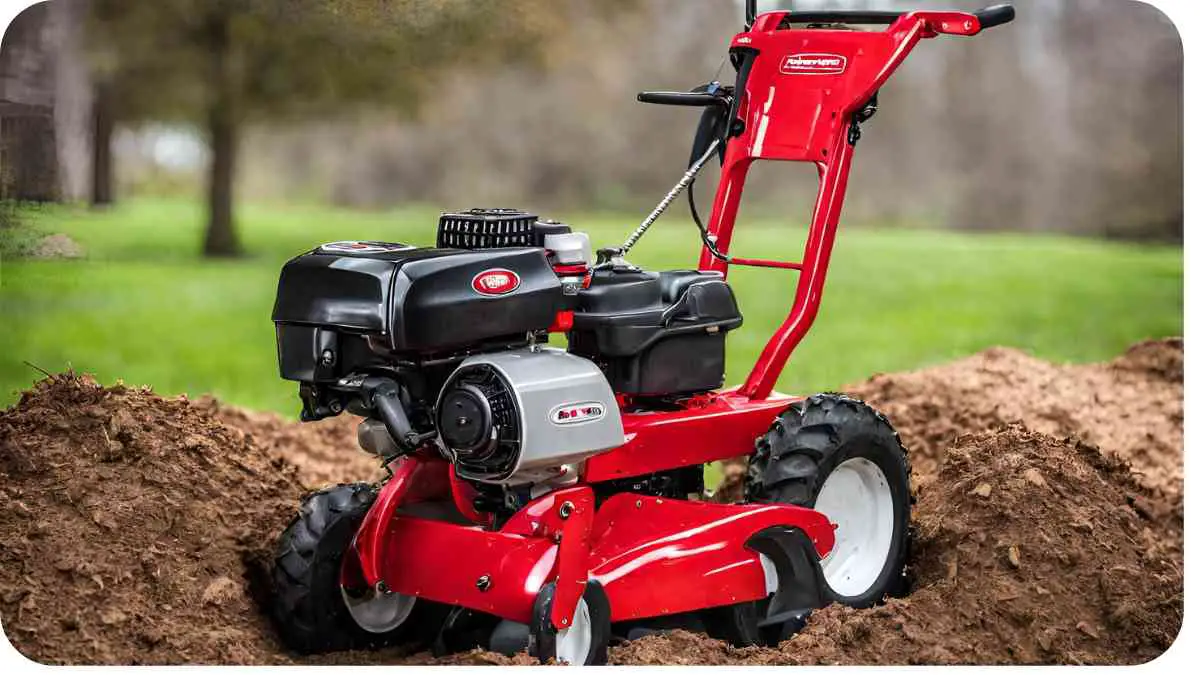
When your Troy-Bilt tiller fails to dig effectively, it can be frustrating and hinder your gardening efforts. Understanding the reasons behind this issue and knowing how to address them is crucial for maintaining optimal tiller performance.
In this article, we’ll explore common reasons why your Troy-Bilt tiller may not be digging as expected and provide practical tips and fixes to remedy the situation.
| Takeaways |
|---|
| 1. Properly adjust tiller settings for optimal performance. |
| 2. Ensure soil conditions are suitable for tilling. |
| 3. Regularly inspect tines and other components for wear and damage. |
| 4. Follow safety precautions to prevent accidents and injuries. |
| 5. Use approved attachments for enhanced functionality and compatibility. |
2. Proper Tilling Depth
One of the primary reasons why your Troy-Bilt tiller may struggle to dig is improper tilling depth. Attempting to dig too deeply, especially in tough soil conditions, can overwhelm the tiller and lead to inefficiency. It’s essential to start with shallow depth settings, typically around an inch or two, and gradually increase the depth with each pass.
When your Fiskars pruner frequently jams, follow this troubleshooting guide to resolve the issue. Proper maintenance ensures optimal performance and longevity of your gardening tools.
Table 1: Recommended Tilling Depths
| Soil Condition | Recommended Depth |
|---|---|
| Soft or Loose Soil | 1-2 inches |
| Hard or Compact Soil | 1/2 – 1 inch |
In hard or compacted soil, it’s advisable to start with an even shallower depth setting and progressively increase it as the soil loosens.
3. Soil Conditions
Soil conditions play a significant role in the performance of your Troy-Bilt tiller. Dry and compacted soil can present challenges for the tiller’s tines, causing them to bounce off the surface rather than digging in effectively.
3.1 Dry and Compacted Soil
Dry and compacted soil creates resistance against the tiller’s tines, making it difficult for them to penetrate the ground. To address this issue, consider watering the area thoroughly a few days before tilling. This helps to soften the soil and make it more pliable, allowing the tines to dig more easily.
Understanding the lifespan of your Bosch garden battery is crucial for efficient gardening equipment. Learn how to extend battery life and ensure uninterrupted operation in your garden tasks.
Table 2: Preparing Soil for Tilling
| Soil Preparation Method | Recommended Timing |
|---|---|
| Watering | 2-3 days before tilling |
| Aerating | 1-2 days before tilling |
| Adding Organic Matter | Prior to tilling |
Aerating the soil and adding organic matter can further enhance its texture and make it more conducive to tilling.
3.2 Organic Matter and Roots
When tilling around existing plantings or areas with organic matter, such as roots, vines, or stems, it’s essential to adjust the tiller’s settings accordingly. Organic matter can be tougher for the tiller’s tines to slice through, and it may become tangled in the machinery.
Table 3: Tilling Around Organic Matter
| Organic Matter | Recommended Tiller Settings |
|---|---|
| Roots and Vines | Slow speed, high tine depth initially. Gradually decrease tine depth and increase speed. |
| Grass Clippings | Moderate speed, shallow tine depth. Periodically check tines for tangled vegetation. |
Adjusting the tiller to operate at a slower speed and higher tine depth initially can help prevent tangling, while gradually lowering the tine depth and increasing speed allows for effective tilling.
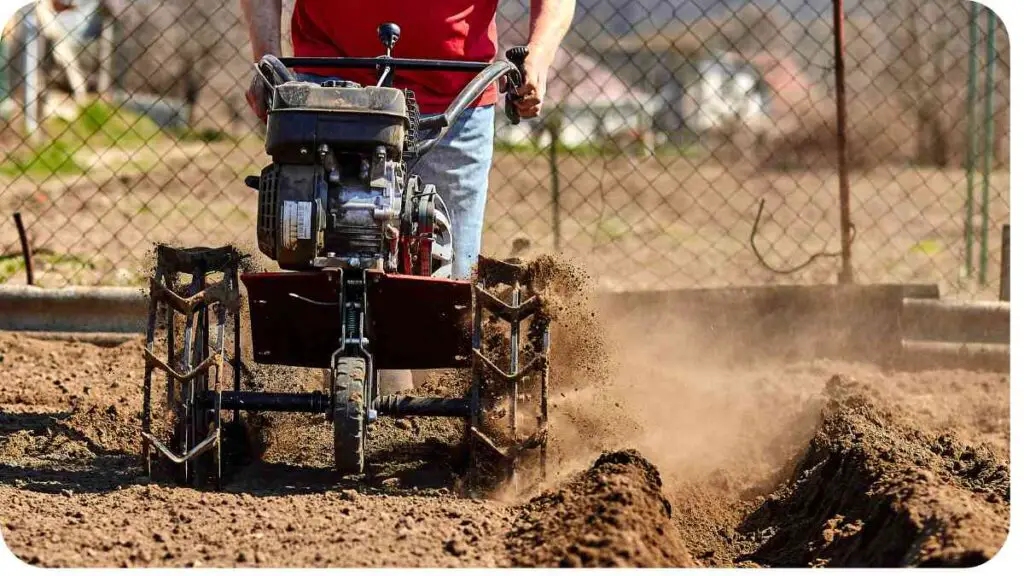
4. Adjusting Tiller Settings

Properly adjusting your Troy-Bilt tiller’s settings is crucial for optimal performance. Whether it’s the tine depth, speed, or direction, ensuring that the settings are appropriate for the soil conditions can make a significant difference in the tiller’s ability to dig effectively.
How often should your OSO Technologies Plantlink notify you? Explore notification frequency settings for optimal plant care and system management in your garden.
Table 4: Tiller Settings for Different Soil Conditions
| Soil Condition | Recommended Settings |
|---|---|
| Soft or Loose Soil | Moderate speed, moderate tine depth |
| Hard or Compact Soil | Slow speed, shallow tine depth initially. Gradually increase depth and speed with each pass. |
By starting with conservative settings and adjusting them as needed based on the soil conditions, you can optimize the tiller’s performance and prevent unnecessary strain on the machine.
5. Safety Precautions
Ensuring safety while operating your Troy-Bilt tiller is paramount to prevent accidents and injuries. Observing proper safety precautions not only protects you but also extends the life of your equipment.
Table 5: Safety Precautions for Tiller Operation
| Safety Precaution | Description |
|---|---|
| Keep hands and feet away from rotating parts | Avoid placing hands or feet near the tiller’s moving components to prevent injury. |
| Ensure good visibility and lighting | Operate the tiller in well-lit areas with clear visibility to avoid accidents and obstacles. |
| Maintain a firm grip on the handles | Hold onto the tiller’s handles securely to maintain control and stability during operation. |
| Avoid pushing down on the handlebars | Refrain from exerting downward pressure on the handlebars, as it can hinder the tiller’s performance. |
| Exercise caution in hard ground | Be vigilant when tilling in hard or compacted soil to prevent wheelies and loss of control. |
By adhering to these safety precautions, you can minimize the risk of accidents and ensure a safe and efficient tilling experience.
6. Checking Tine Condition
The condition of your tiller’s tines is crucial for effective tilling. Worn or damaged tines can hinder the tiller’s ability to dig into the soil and may lead to subpar results.
Experiencing power loss with your Husqvarna leaf blower? Discover effective solutions to the problem to ensure consistent performance during your gardening tasks.
Table 6: Signs of Tine Wear and Damage
| Indicator | Description |
|---|---|
| Shortened Tines | Tines that appear shorter than usual may indicate wear and may need replacement. |
| Blunted or Bent Tines | Tines that are blunted or bent may struggle to penetrate the soil effectively and should be inspected for damage. |
| Excessive Rust or Corrosion | Rust or corrosion on the tines can weaken them over time, reducing their effectiveness and lifespan. |
Regularly inspecting your tiller’s tines for signs of wear and damage allows you to address any issues promptly and maintain optimal tilling performance.
7. Avoiding Handlebar Pressure
While operating your Troy-Bilt tiller, it’s essential to avoid exerting pressure on the handlebars in an attempt to force the tiller to dig deeper. This action can have the opposite effect and impede the tiller’s performance.
Table 7: Effects of Handlebar Pressure
| Action | Effect |
|---|---|
| Pushing Down on Handlebars | Exerts downward pressure on the tiller, hindering its ability to dig effectively and potentially causing strain. |
| Pulling Back on Handlebars | Disrupts the tiller’s forward momentum, leading to uneven tilling and reduced efficiency. |
Instead of applying pressure to the handlebars, allow the tiller to operate at its intended speed and depth settings, ensuring optimal performance and safety.
8. Operating on Gravel Surfaces

Operating your Troy-Bilt tiller on gravel surfaces requires extra caution to prevent accidents and damage to the equipment. Gravel can pose unique challenges for tillers, including reduced traction and increased risk of debris getting caught in the machinery.
Troubleshoot your Gilmour garden hose leaks with these expert tips and techniques. Prevent water wastage and maintain a healthy garden with proper hose maintenance practices.
Table 8: Tips for Tilling on Gravel Surfaces
| Tip | Description |
|---|---|
| Reduce Speed | Slow down the tiller’s speed when tilling on gravel to maintain control and prevent slippage. |
| Increase Tine Height | Raise the tine depth setting to prevent the tines from digging too deeply into the gravel. |
| Inspect for Debris | Before and during tilling, inspect the area for debris such as rocks or large stones that could damage the tiller. |
| Use Caution When Turning | Exercise caution when making turns on gravel surfaces to avoid skidding and loss of control. |
By following these tips and exercising caution, you can safely and effectively till gravel surfaces without compromising the performance of your Troy-Bilt tiller.
9. Reverse Operation Caution
When operating your Troy-Bilt tiller in reverse or pulling the machine towards you, it’s crucial to exercise extreme caution to avoid accidents and injuries. Reverse operation presents unique challenges and requires careful attention to safety protocols.
Table 9: Safety Tips for Reverse Operation
| Safety Tip | Description |
|---|---|
| Maintain Clear Visibility | Ensure good visibility behind the tiller to avoid obstacles or hazards while operating in reverse. |
| Use Slow, Controlled Movements | Maneuver the tiller in reverse at a slow and steady pace to maintain control and prevent accidents. |
| Keep Hands and Feet Away from Moving Parts | Avoid placing hands or feet near the tiller’s moving components to prevent injury during reverse operation. |
| Check Surroundings Before Reversing | Before reversing, look behind you and around the area to ensure it’s clear of obstacles or bystanders. |
By adhering to these safety tips and exercising caution, you can minimize the risk of accidents and injuries while operating your Troy-Bilt tiller in reverse.
10. Using Approved Attachments
When it comes to enhancing the functionality of your Troy-Bilt tiller, using approved attachments and accessories is essential. These attachments are specifically designed to work seamlessly with your tiller, ensuring optimal performance and safety.
Table 10: Benefits of Using Approved Attachments
| Benefit | Description |
|---|---|
| Compatibility | Approved attachments are designed to fit your Troy-Bilt tiller perfectly, ensuring hassle-free installation and operation. |
| Performance Enhancement | Attachments such as furrowers, cultivators, and plows can enhance the versatility and efficiency of your tiller. |
| Safety | Using approved attachments minimizes the risk of damage to your tiller and ensures safe operation during use. |
| Warranty Compliance | Using non-approved attachments may void your tiller’s warranty, while approved attachments are covered under warranty. |
Before purchasing and using any attachments with your Troy-Bilt tiller, always ensure they are approved by the manufacturer to avoid compatibility issues and warranty concerns.
11. Inspecting for Damage
Regularly inspecting your Troy-Bilt tiller for damage is essential for identifying potential issues early and preventing further damage. By conducting routine inspections, you can ensure that your tiller remains in optimal working condition and avoid costly repairs or replacements.
Table 11: Components to Inspect for Damage
| Component | Inspection Procedure |
|---|---|
| Tines | Check for signs of wear, bending, or damage. Replace any damaged tines to maintain optimal tilling performance. |
| Belts and Chains | Inspect belts and chains for wear, fraying, or stretching. Replace any worn or damaged belts and chains as needed. |
| Engine and Fuel System | Check the engine and fuel system for leaks, damage, or irregularities. Address any issues promptly to prevent further damage. |
| Wheels and Tires | Inspect wheels and tires for wear, damage, or punctures. Ensure tires are properly inflated and wheels are securely attached. |
By regularly inspecting these key components of your Troy-Bilt tiller, you can identify and address any issues before they escalate, ensuring reliable performance and longevity.
12. Conclusion
Maintaining your Troy-Bilt tiller in optimal working condition requires attention to detail and regular maintenance. By following the tips and fixes outlined in this article, you can address common issues that may arise with your tiller and ensure that it continues to perform effectively.
From adjusting tilling depth and settings to inspecting for damage and using approved attachments, each step plays a crucial role in maximizing the performance and longevity of your tiller. By incorporating these practices into your routine maintenance regimen, you can enjoy years of reliable service from your Troy-Bilt tiller.
Remember to prioritize safety at all times while operating your tiller, and never hesitate to seek professional assistance if you encounter any issues beyond your expertise. With proper care and maintenance, your Troy-Bilt tiller will continue to serve as a valuable tool in your gardening arsenal for years to come.
If you have any questions or need further assistance with your Troy-Bilt tiller, don’t hesitate to reach out to the manufacturer or consult with a qualified technician for personalized guidance and support.
Thank you for reading, and happy tilling!
Further Reading
- Troy-Bilt Knowledge: Garden Tiller Operation Tips: This comprehensive guide provides valuable tips and insights for operating your Troy-Bilt garden tiller effectively, ensuring optimal performance and results.
- Weekand: Troubleshooting Troy-Bilt Tuffy Tiller Power Loss: Learn how to troubleshoot power loss issues with your Troy-Bilt Tuffy tiller, including practical tips and fixes to address common problems.
- TroyBiltTillerGroup: Discussion on Tiller Performance: Join the discussion with fellow Troy-Bilt tiller owners to exchange tips, experiences, and insights on optimizing tiller performance and troubleshooting issues.
FAQs
What are some common reasons for Troy-Bilt tiller power loss?
Power loss in Troy-Bilt tillers can occur due to issues such as improper tilling depth, soil conditions, and worn tines.
How can I adjust the tilling depth on my Troy-Bilt tiller?
You can adjust the tilling depth on your Troy-Bilt tiller by selecting the appropriate depth setting and gradually increasing it with each pass.
What should I do if my Troy-Bilt tiller encounters tough soil or organic matter?
If your Troy-Bilt tiller encounters tough soil or organic matter, consider watering the area beforehand to soften the soil and adjusting the tine depth and speed settings accordingly.
Are there any safety precautions I should take when operating my Troy-Bilt tiller?
Yes, it’s essential to observe safety precautions such as keeping hands and feet away from moving parts, maintaining good visibility, and using caution when operating in reverse or on gravel surfaces.
How often should I inspect my Troy-Bilt tiller for damage?
It’s recommended to inspect your Troy-Bilt tiller for damage regularly, ideally before each use, to identify any issues early and prevent further damage.

For 15 years, Hellen James has worked in the gardening industry as an expert and landscape designer. During her career, she has worked for a variety of businesses that specialize in landscaping and gardening from small firms to large corporations.